Summer is coming to an end and slowly we’re creeping into the colder months. It means damp, dreary greyness with loads of sludgy roads and trails. Perfect opportunity to bring up one of my favourite bits of bike technology. The coasterbrake. One of the oldest methods for braking your bicycle, and still to this day perhaps the most reliable form of braking systems available for utilitarian use. Though I am seeing less and less of them here in Denmark, the fact that they’re still kitted on bikes makes me feel all warm and fuzzy, attesting to their outstanding reliability. From the original patenting by Ernst Sachs in 1903, they remained dominant until the takeover of the hand-actuated caliper brakes in the 1970s, but though they went out of fashion, they’re still here. And what is it exactly that makes a coasterbrake so fantastic, you ask?
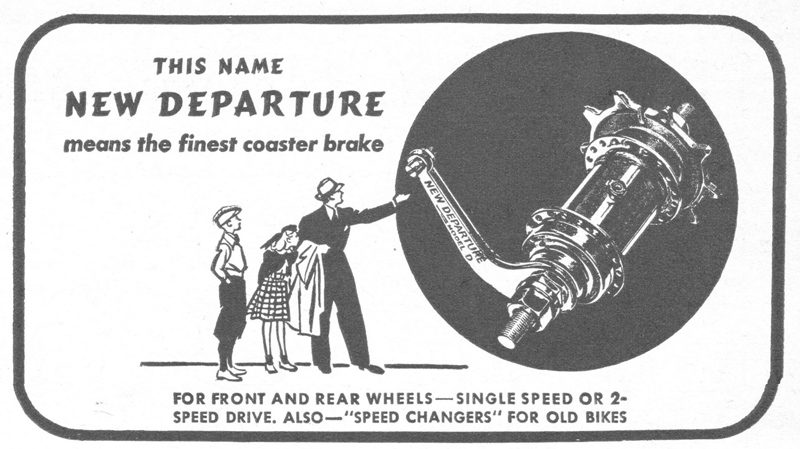
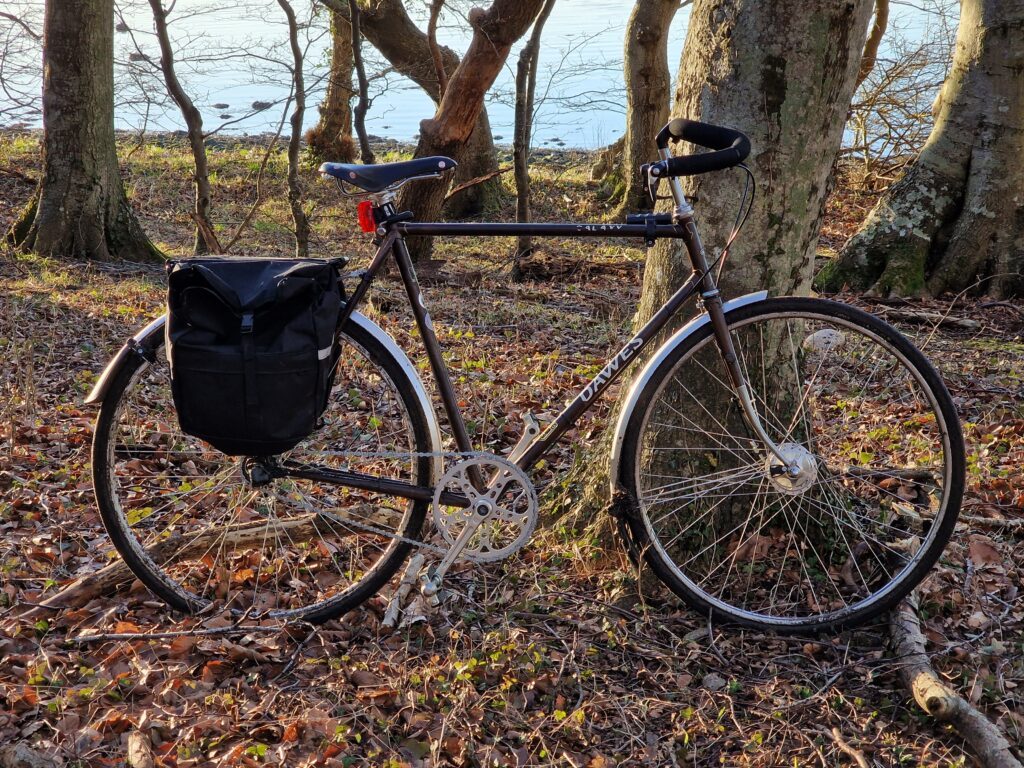
Well, it’s quite simple. It is a sealed braking unit, meaning that the internals of the brakes are all built into the hubshell and as such the braking performance is not impacted by rain, snow or mud. You can ride through virtually all terrain without fear of losing braking power or being completely unable to brake, which can be a reality with clogged brake calipers, or contaminated disc’s. This level of reliableness cannot be found with any external braking system, and it lowers maintenance considerably. In the winter time you can end up having to frequently replace pads as road salt and wet slushy grime grinds away at rim and disc brakes, but with a coaster brake the wear is slow and not exacerbated by the conditions. You also don’t have any wearing parts other than the brake shoes, where as with for example a rim brake, you’re actively wearing down the rim and the brake pads. So all in all, the coasterbrake is the perfect option for a winter commuter – and paired with a front drum brake, you’ve got an absolute bombproof, low maintenance setup that just keeps on working. Here’s my Dawes running a Nexus 3 coaster braked setup with a Sturmey Archer front drum brake.
So, what are my options if I want to give this a go, you ask? Luckily, you’re sort of spoilt for options. The coasterbrake though not as prevalent as in the past, is still a staple on Shimano IGH ranges and with Velosteel still in business you can also get the more classic, stripped down experience at a very low cost. There’s also a lot of older Sachs and Sturmey Archer ones available second hand, but be aware of axle lengths – we will get into that later. The first thing to consider is the sort of bike you’re intending to convert. The most important thing is to make sure that it has horizontal dropouts, sliding dropouts or track ends.
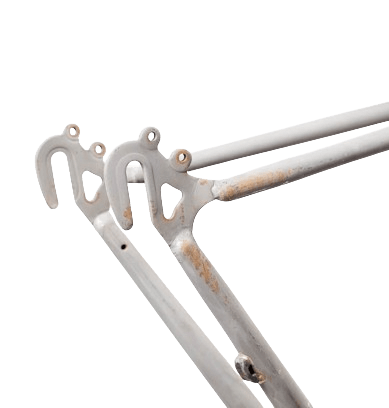
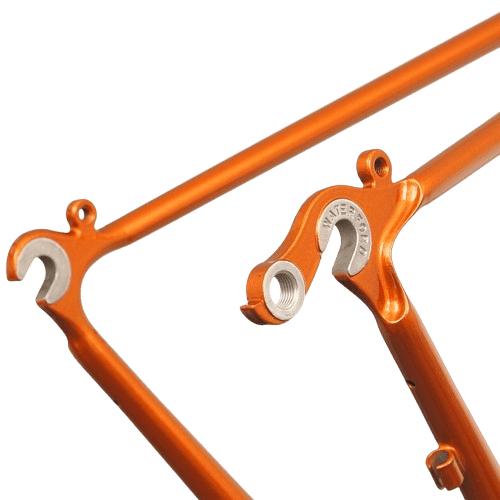
In order to actuate the brake we have to backpedal and as the braking force relies on the torque transmitted through the chain, we can’t use a tensioner, as all of that torque would be going into the tensioner. Best case it simply ruins the tensioner, worst case it damages the dropout. EBB frames could potentially work, but I’d still worry about slippage under high torque.
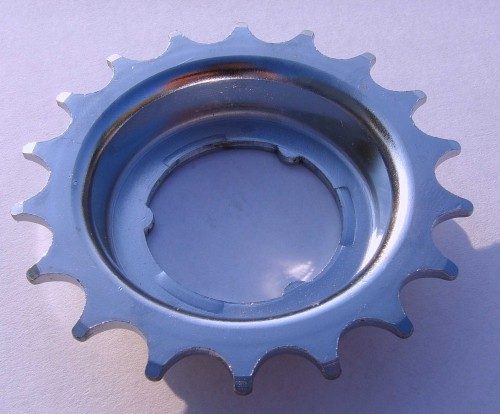
Next we have to consider the frame spacing, it is important to understand that more classic coasterbrake hubs are usually singlespeed, such as the Velosteel ones which happen to be my favourite. They’re manufactured for traditional 110mm spacing, but offer various axle lengths, the longest being 180mm which is sufficient for spacing up to 135mm – with a generous serving of spacers on either side of the locknuts. This makes for a weaker axle, so it isn’t ideal – but it does work! You will also have to use a dished cog, like this one, as the chainline will be off by a large margin if using a modern frame.
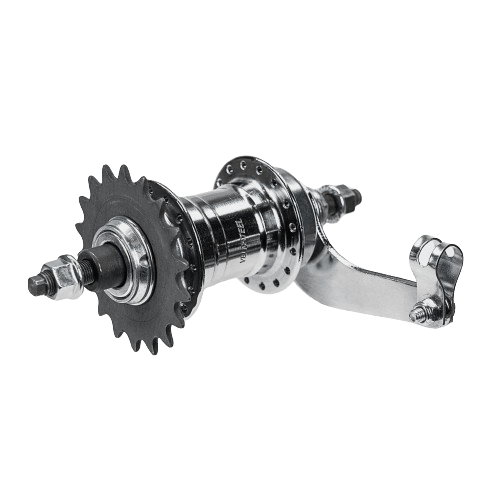
NOTE:The 180mm axle version, or the axle on its own can be very hard to find. Consider getting in touch with Velosteel. I’ve had luck sourcing it from various Eastern European sites, to find those I usually just put “velosteel” and “180mm” in quotation marks in a Google search. Happy hunting!
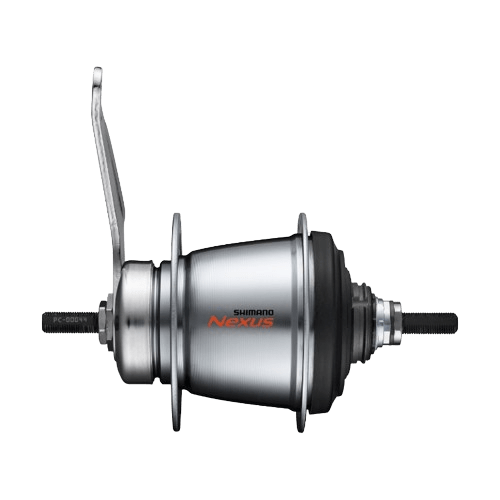
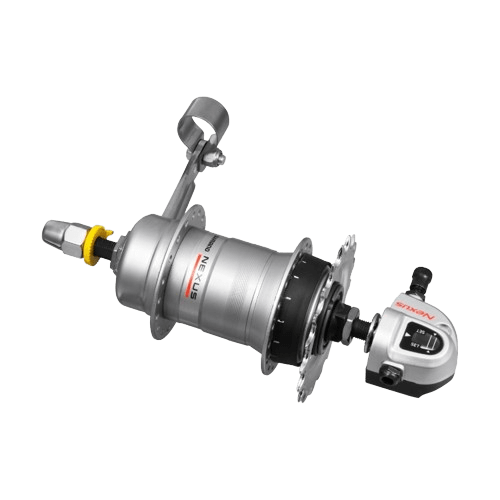
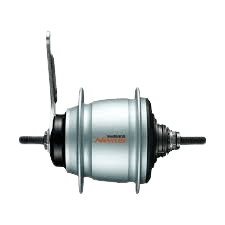
If singlespeed is putting you off, you’re best served looking into Shimano’s geared range. There’s a few benefits to going this route, not only because you get multiple gears, but they also offer superior weather sealing to the Velosteel. The beauty of the Velosteel is simplicity, they’re as barebones as they can get, a real blast from the past which can be serviced by absolutely everyone and their dog. But this also means that they are more prone to dirt ingress and that’s where Shimano, with their more overengineered IGH’s shine. The Nexus range is also cheap, offers a good selection of gearing and have far better seals. They also are a bit more plug and play with modern frames due to their O.L.D. The C6001-8C, which is practically identical to an Alfine 8, just with a coaster brake, is spaced around 132mm and so is really plug and play for both 135 and 130mm frames. From the 7 speed selection, the C3001-7C comes with an axle of 175mm and is spaced for 127mm, meaning that with a spacer on either side you should be able to quite easily fit it into a 135mm frame. If you own a 130mm spaced frame, even better, you’ll be fine just clamping down those extra mm’s. This is all assuming you’re riding steel or titanium. Don’t try this with aluminium or carbon, for those materials it’s best to go as close to frame specification as possible. Anyway, if you don’t mind having less gears my recommendation would actually be the Nexus 3 speed range, due to its lower weight. They’re also a bit more simple, while still adequately sealed, making it the perfect middle ground between the more primitive Velosteel and the overengineered 7/8 speed hubs.
So far so good, are there any other things to consider? Yes, these brakes though very capable and reliable do have some shortcomings which I want to shed light on. It should be made clear that these really aren’t designed for serious off-road riding, particularly in mountaineous terrain. This is due to heat dissipation, and it’s directly linked to their sealed nature, which efficiently keeps out the muck, but also traps the heat generated from braking. This means that if you’re going on long descents down steeper terrain, you will likely build up enough heat to have the brakes completely fade on you. This is how the “Repack” race got its name back in the 70’s. Those early mountain biking pioneers had to repack their hubs once they got to the bottom, as the brakes would usually have faded out before they were even halfway down the mountain. So, I wouldn’t recommend relying solely on a coaster brake hub while doing serious mountain biking, or loaded touring. But for commuting, gravel and the occasional bit of singletrack, I’ve never had even a hint of an issue. The problem isn’t even stopping in steeper terrain, by the way, it is all about how long the brake is continuously engaged.
All of this is me erring on the side of caution anyway, if it is good enough for the absolute legend that is Heinz Stücke, it’s good enough for any of us.
Now should you be feeling a bit more fancy and want to try something slightly more artisan, there’s always the “Souped up coaster brake hub” by MONē. These are custom built and can be spaced from 120 to 135, they also offer coolers for improved heat dissipation. But at 272$ with a cooler, and 162$ without it isn’t really a budget option.

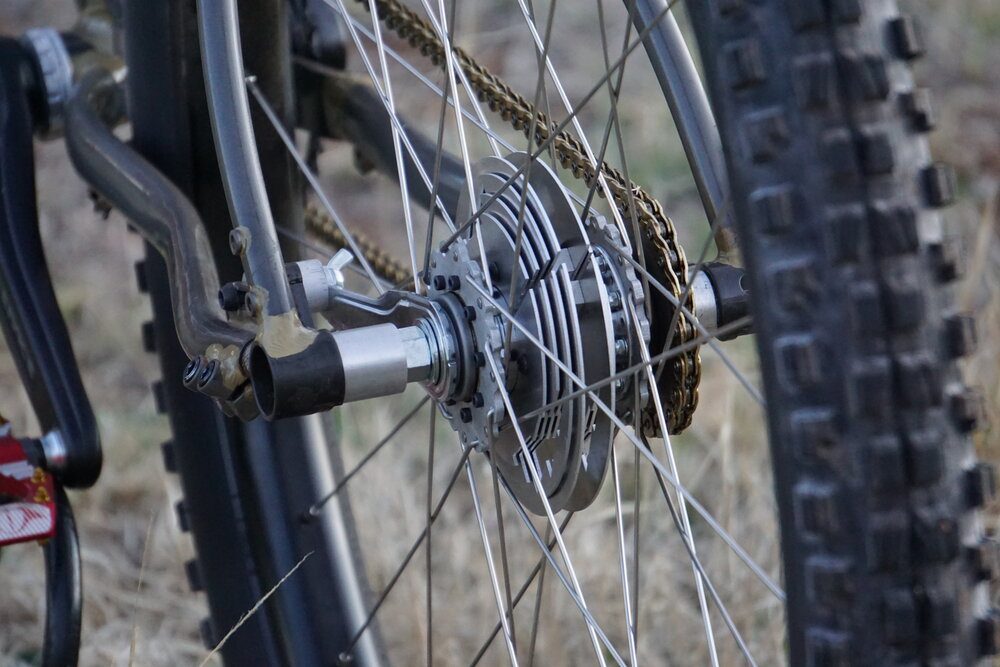
And honestly I am not sure how I feel about the coaster brake, originally a simple, reliable workhorse component used on affordable, utilitarian bikes, being revived as a high-end luxury part. I prefer its humble roots of being a no-frills, dependable part of everyday bicycles. That said, I like the idea of improving the design if it stays true to its roots and remain affordable. I still dream of the day that Shimano may launch a single-speed coasterbraked hub with labyrinth seals like in their Alfine hubs. I know it won’t happen. But I’d love to see it, ideally at a price point identical to the Nexus 3.
Quite a selection, eh? Honestly, in terms of performance I would say that most coaster brakes perform relatively well. There are some differences from hub to hub, geared hubs can be a bit more spongy feeling. This is mostly down to the fact that they typically use a smaller rear cog, as not to produce too much torque for the planetary gears. To put it simply, the larger the rear cog, the more torque you’re able to put into braking. With a singlespeed hub with a coaster brake, you don’t have to worry about overtorquing in the same way you do with a geared hub. So if you want to get the most out of your coaster brake, go for something large like a 22 or 24T in the rear. You can do the same to a geared hub, but you want to make sure you’re sizing up the front accordingly to not end up gearing too low, causing damage to the gears. Of all the coaster braked hubs I’ve tried, I find that the Nexus range has provided the nicest modulation, where as other models tend to have a bit more of a mind of its own, with the line between locking up the wheel and not braking at all being very, very fine.
I think that’s most of the stuff you need to know to get coasting. I just wanted to add to the maintenance points earlier. Because though coasterbrakes are low maintenance, I still recommend servicing at least yearly if you’re using a more barebones, primitively sealed unit like the Velosteel. Also, do inspect the steel clip that clamps the brake arm to the chainstays from time to time, not obsessively, but over time the steel clamp will fatigue and when they fail you’re left brakeless. They generally have a long lifespan, and I’ve personally used very old clips and not had any issues. But better safe than sorry, I’ve seen stories of reaction arm clips failing on Sturmey Archer drums, and it’s not a fun experience. While we’re talking about maintenance and all that jazz, I thought I’d just throw in a few extra tips:
- If you’re struggling to get the coaster brake arm to reach the chainstays, you can sometimes clamp it to the lower portion of the seat stays. I did this on my Surly 1×1. Alternatively you can take off the brake/reaction arm, pop it in a vice and hammer it to allow it to reach.
- If you can’t find clip that is able to wrap around beefy stays, you can use a hose clamp as an alternative.
- If stays are too thin and it won’t clamp tight, a few wraps of inner tube or self amalgating tape can do the trick
- (Sort of connected to 3) A bit of inner tube or tape can protect the paintwork from the brake arm clamp.
And with that we can conclude this little propaganda piece. Hopefully this will inspire some of you to give the underappreciated coaster brake a go. Simplifying your bike to minimise wear and tear is the best thing you can do to your winter bike. There’s been plenty of times where snow and slush has rendered my v-brakes completely useless, disc brakes less so but still somewhat impaired. I don’t worry about that now. And as mentioned earlier, if you pair this with a front drum brake, you’ve got low maintenance nirvana. It is important to remember that the sealed braking units, such as drum and coasterbrakes fell out of favor, not because they were bad, but because the industry as a whole consistently has been pushing race componentry into utilitarian lines, promising weight savings and more gears, when in truth what should matter on a true workhorse is dependability and cost effectiveness. Long live the coaster brake!
Leave a Reply